Disclaimer
The project I am writing about is over five years old, but it is not open-source. Therefore I can’t go into too much detail about the device or the protocol. Unfortunately, I couldn’t get permission to publish our work, even though it was never commercialized. That said, recently1 I was made aware of a project that seems to do a similar thing as ours did, so I don’t feel too bad writing this up now. If you need assistance hacking your printer, do get in touch :)
Lastly, my memory may be a bit hazy about specifics.
Introduction
Back in 2021, we got our hands on an old industrial 3D-printer for free, namely an HP DesignJet 3D, which is in essence a rebadged Stratasys UPrint (SE). There was only one problem, and it was the reason I got it for free:
The printer only takes proprietary filament cartridges, which each cost about as much as a whole 3d printer (~350€, iirc).
The DRM
The filament cartridges have an EEPROM which contains information about the filament type, and more importantly, how much filament is left in the cartridge. Once the EEPROM reports it is empty 2, a destructive command is issued by the printer, killing the EEPROM (making it permanently read-only) and stopping the print. IIRC The EEPROM is a modified version of an Analog Devices DS2432, which can only be written to using a secret key we do not have.
The Linux-based printer firmware stores the serial numbers it has already used and blacklists
them. Luckily a simple rm over ssh solves that.
Prior Work
At the time, I found the following resources:
- stratatools: This project documented the EEPROM format and can create new EEPROM images.
- knock-out preventing chips: These stop the EEPROMs from getting made read-only. These are bloody expensive.
The key insight
The printer is made up of two distinct parts connected by what looks like an old parallel cable; the printer itself and the materials bay. I am a bit hazy of the details here, but we knew the old-style materials bay worked with newer printers. This probably means, all the encryption must take place in the bay, and the printer is not aware of this. If we could MITM the communication between the bay and the printer, we could make the printer believe a proper cartridge is being used.
Man in the Middle
You get three guesses as how the Printer and Bay communicate.
That’s right; 8n1 115200 UART. Using 2 UART transceivers and an Arduino, we logged the communication between the Bay and Printer, together with timestamps. All the while manually noting down the printers current state at specific time stamps.
How (not) to reverse enginner a protocol
We then had a bunch of unstructured hexdumps. By looking closely the packet structure could relatively easily be seen. We then printed out the packets and used markers to correlate/guess what packets corresponded to what.
After we were relatively sure what a packet does, I intercepted it on the Aduino and returned an emulated response. If the printer continued to work, we were correct, otherwise it was back to looking at the hex dumps.
The wire protocol turned out to be byte-oriented and nothing special. A magic byte signals the packet start and end, two bytes signify the sender and target, there is a sequence number, a length field and a CRC checksum. There are two two-byte escape sequences for the magic byte and for the escape-marker byte.
Modifying a message requires recalculating the CRC and dropping a single message requires the sequence numbers to be adjusted. I just do this processing for every packet.
Only a minimal set of packets is emulated, a materials cartridge still needs to be inserted into the bay, though a healty EEPROM is not required.
Putting it all together
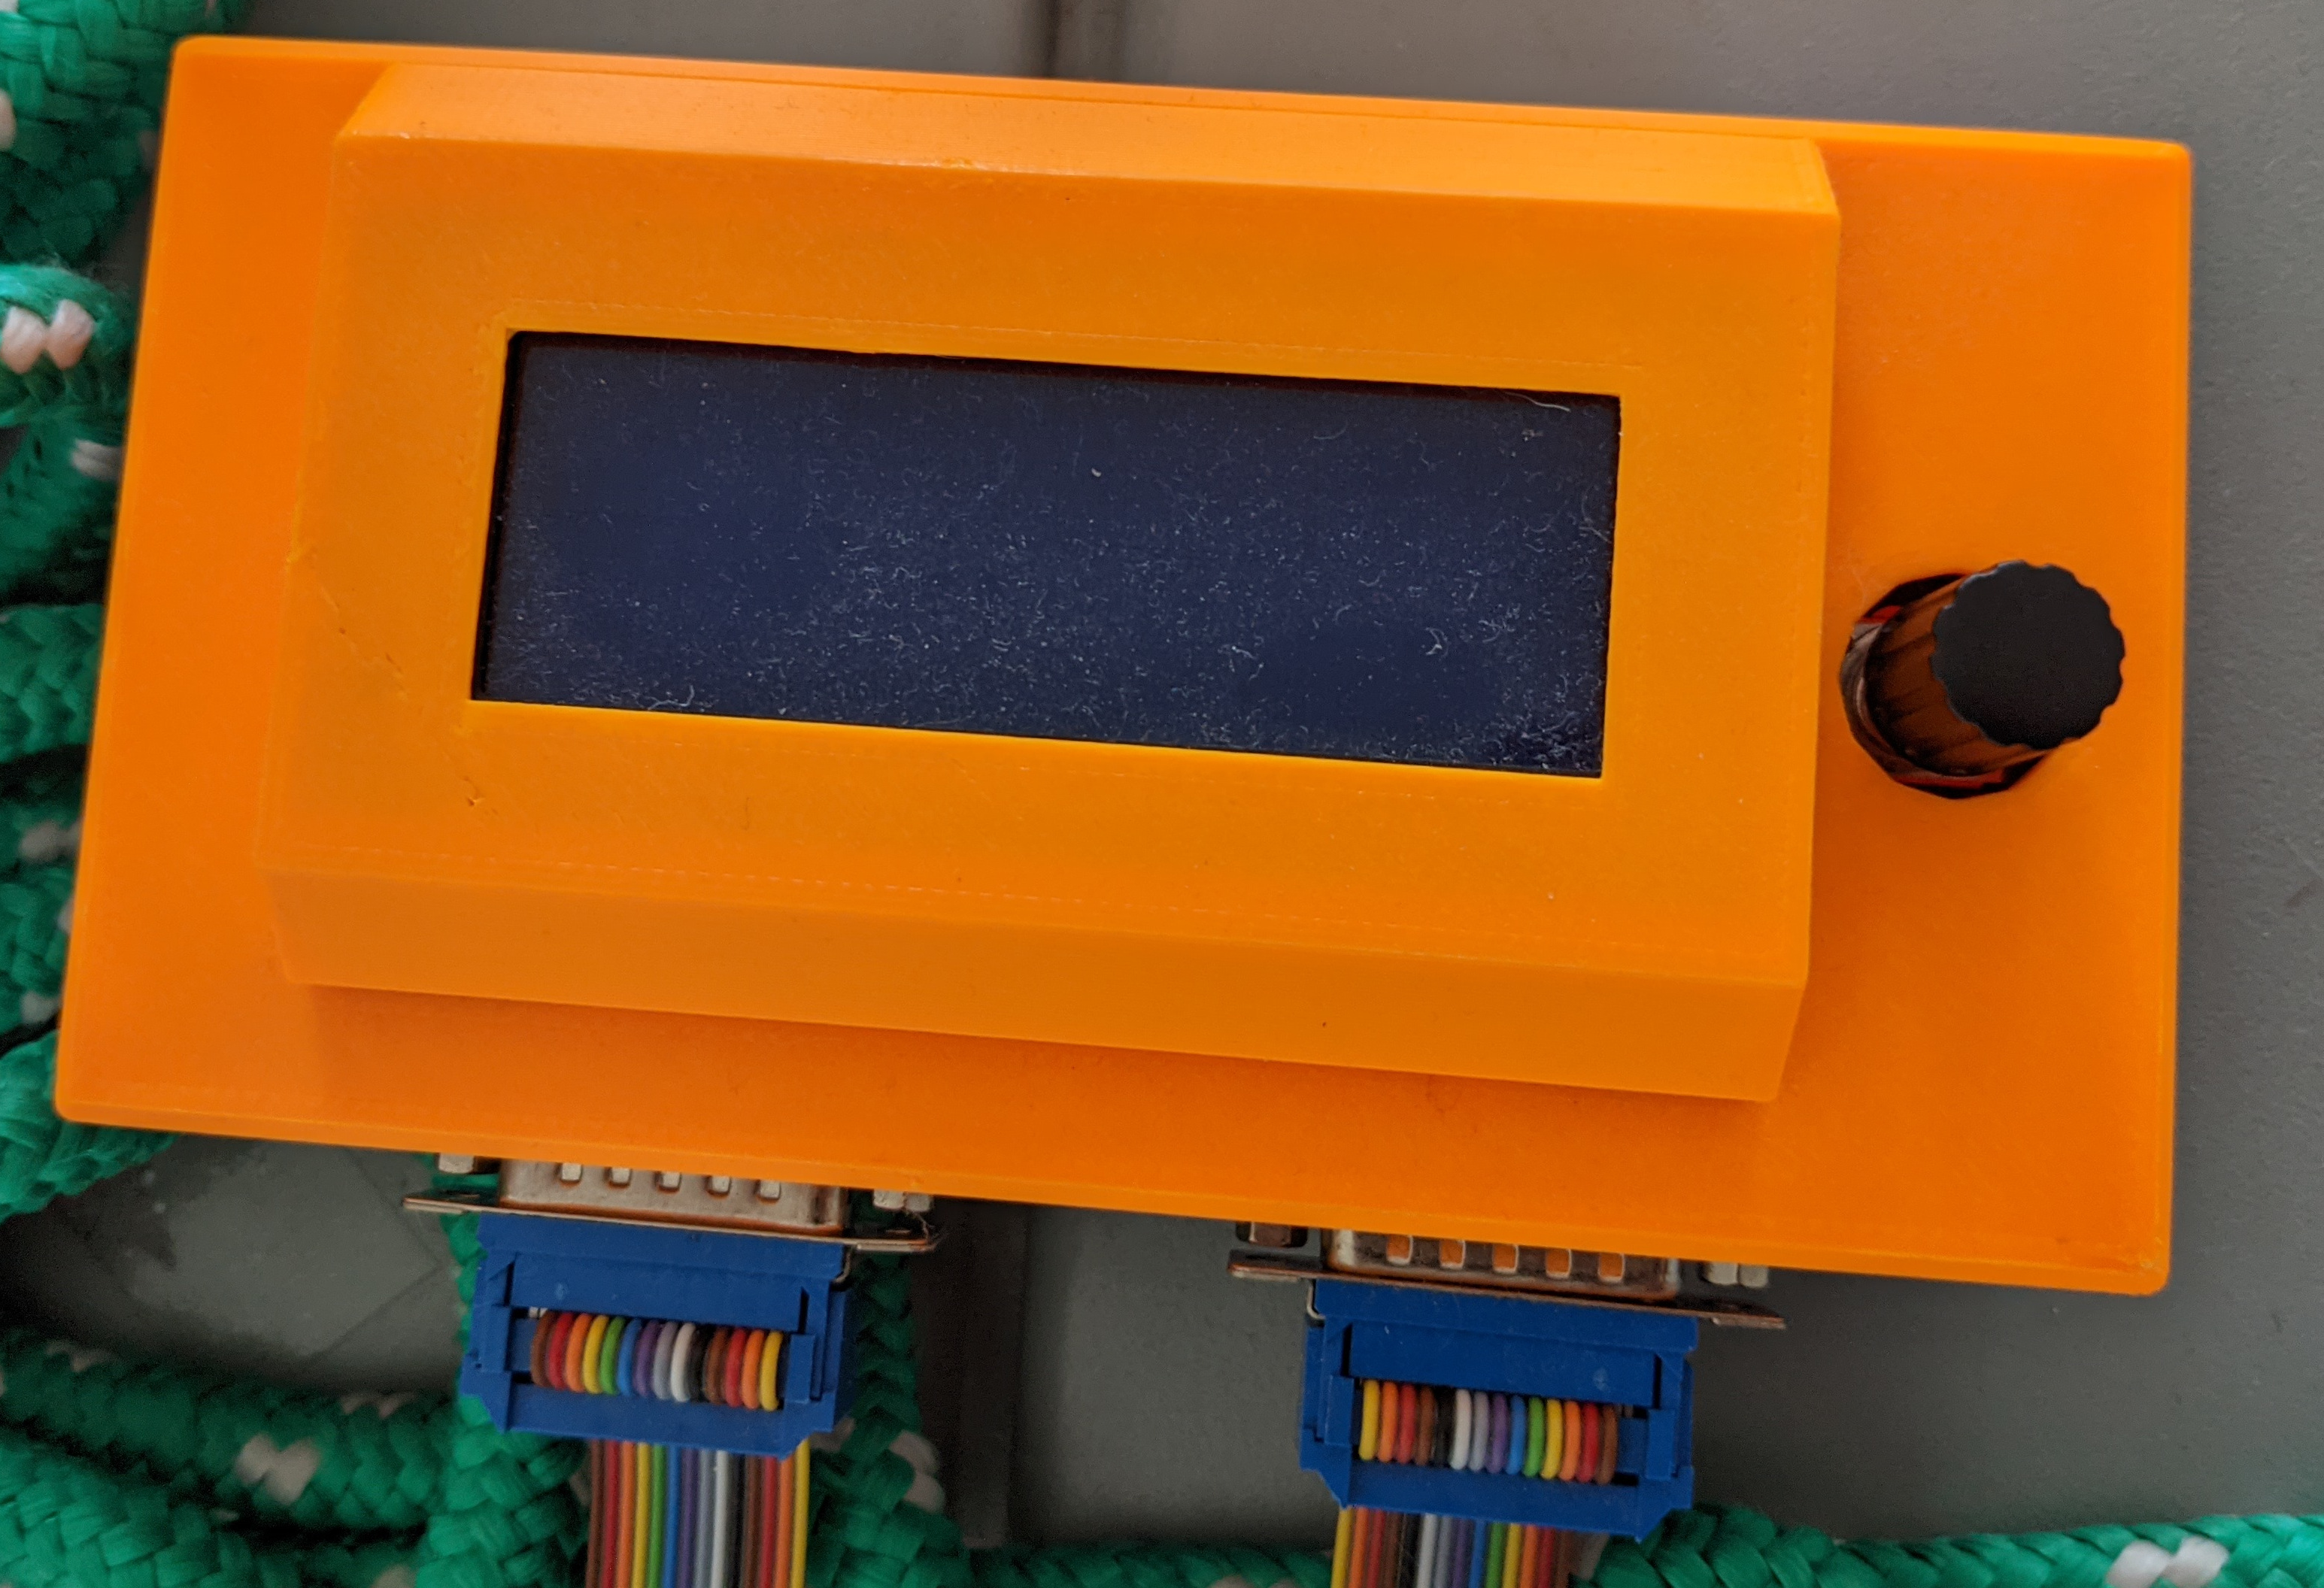
Finally a custom PCB with an Arduino, the transceivers, an LCD, and an FRAM chip was created and some UI code to swap between multiple cartridges (generated by stratatools) was written.
All of that is boring, except perhaps the FRAM chip. As it turns out, the EEPROM is written to every couple of seconds, which would wear out the Arduino’s embedded flash (rated for 100000 cycles) very quickly. FRAM is a storage technology which is rated to endure programming cycles.
The final unit looks like this (I don’t have a picture of it turned on):
Looking back
The project itself was quite fun, and we even got a free 3D printer out of it.
Looking at the code after 5 years, however is a different story. Knowing what I know now, I would have written it very differently, but let’s just say that writing asynchronous code in C is hard, and shoehorning in a bunch of UI code at the last minute definitely did not help.
Today, I’d probably try to extract the encryption key from the materials bay’s processor or implement full emulation for the materials bay, so we can get rid of it, as it takes up a bunch of space. The printer is at my parents’ place, so I seldom have access to it. As such, the project once working, was never touched again.